Do you want to build your own FlightAware PiAware ADS-B Ground Station?

You can now build and run your own ADS-B ground station that can be installed anywhere and receive real-time data directly from airplanes on your computer.

Your ground station can run FlightAware's PiAware software to track flights within 100-300 miles (line of sight, range depending on antenna installation) and will automatically feed data to FlightAware. You can track flights directly off your PiAware device or via FlightAware.com.

As a thank you from FlightAware, users sending ADS-B data receive the following:

  • Live data on flightaware.com (subject to standard data processing delay of up to two minutes)
  • Access to up-to-the-second live data received by the local device (accessible from the stats page with a local network connection)
  • Data from local device highlighted on FlightAware track logs
  • Detailed statistics on site performance
  • A free Enterprise Account (USD99.95/mo value)

By using Enterprise account, I acknowledge and accept FlightAware's Privacy and FlightAware's Terms of Use, as well as FlightFeeders or Providing ADS-B Data Terms and Conditions which govern all use of the Website and all content, services and products available at or through the Website or FlightAware applications for mobile, or use of software provided by FlightAware, including, but not limited to, the FlightAware Discussions site.

Getting started is fast and easy!

Using the instructions below, the process should take about 2 hours and the parts cost about USD100/EUR80.

Already running dump1090 on a Raspberry Pi?

View the PiAware installation page to install the latest version on your Pi.
FlightAware PiAware: SkyAware ADS-B software web interface


1PiAware Shopping List

To build a PiAware, you must obtain the following components: (Please note that FlightAware is not affiliated with The PiHut and RaspberryPi.com even with links to their websites as a third party alternative.)

  1. Raspberry Pi 3 / 4 / Zero W
  2. Power supply for the Raspberry Pi
    • 5.1 Volts 2.5 Amps power supply recommended
  3. Micro SD Card (size: 8 GB or larger)
  4. Micro SD card reader
    • If your computer does not have a built-in SD card reader/writer, you will need the optional USB SD card reader/writer.
  5. USB SDR ADS-B Receiver (FlightAware Pro Stick or Pro Stick Plus recommended)
  6. 1090 MHz Antenna
  7. Additionally, you can choose to purchase or find the following items but they are not required.

2Install PiAware on your SD card

Tutorial is for MAC but similar on Windows
  1. Select and Download your desired PiAware SD card image
  2. Go to https://www.raspberrypi.com/software/ download the SD card writer (approx 80MB) and follow the directions to install the program.
  3. RPi Imager download
  4. Open Raspberry Pi Imager.
    • The program may need to be run as administrator (MAC: control+open application / Windows: right click on application and select 'run as administrator')
    RPi Imager Icon
  5. Select the Raspberry Pi device you intend to use.
  6. RPi Imager choose device
  7. Select Choose OS, scroll to the bottom and choose Custom OS, then open the PiAware img file inside the PiAware zip.
  8. Extract the zip file
    Raspberry Pi Imager will allow you to select the zip file itself and it will appear to flash correctly, but the OS will fail to boot. Be sure to extract the zip file first and select the img file directly.
    RPi Imager choose device
  9. Select the correct Micro SD card USB drive carefully, the process will overwrite any data on the drive and people have lost years worth of pictures accidentally. Consider removing external hard drives and other devices to avoid accidentally overwriting the data.
  10. Correct Drive
    Be sure to choose the correct drive to install the image
    • Confirm the drive on the 'Finder' screen. The below image shows the micro SD card as 'NO NAME'.
    • RPi Imager Choose Device
  11. When prompted with 'Would you like to apply OS customisation settings?', select 'NO'
  12. RPi Imager OS Customize
  13. After ensuring that the drive shown is the correct drive, select 'YES', and the flashing process will begin
  14. RPi Imager warning
    • Administrative privileges on the computer will be needed, sign into an administrative account if a prompt appears.
  15. After PiAware is installed Etcher should automatically eject the SD card, if not manually eject the SD card and remove from the computer.
  16. RPi Imager Write Successful

3Optional: Enable Wi-Fi

Option 1: Via Bluetooth

Sorry, Bluetooth configuration is not supported by this browser. Supported browsers currently include: Google Chrome, Google Chrome on Android, Opera, and Microsoft Edge

Option 2: Manual Configuration

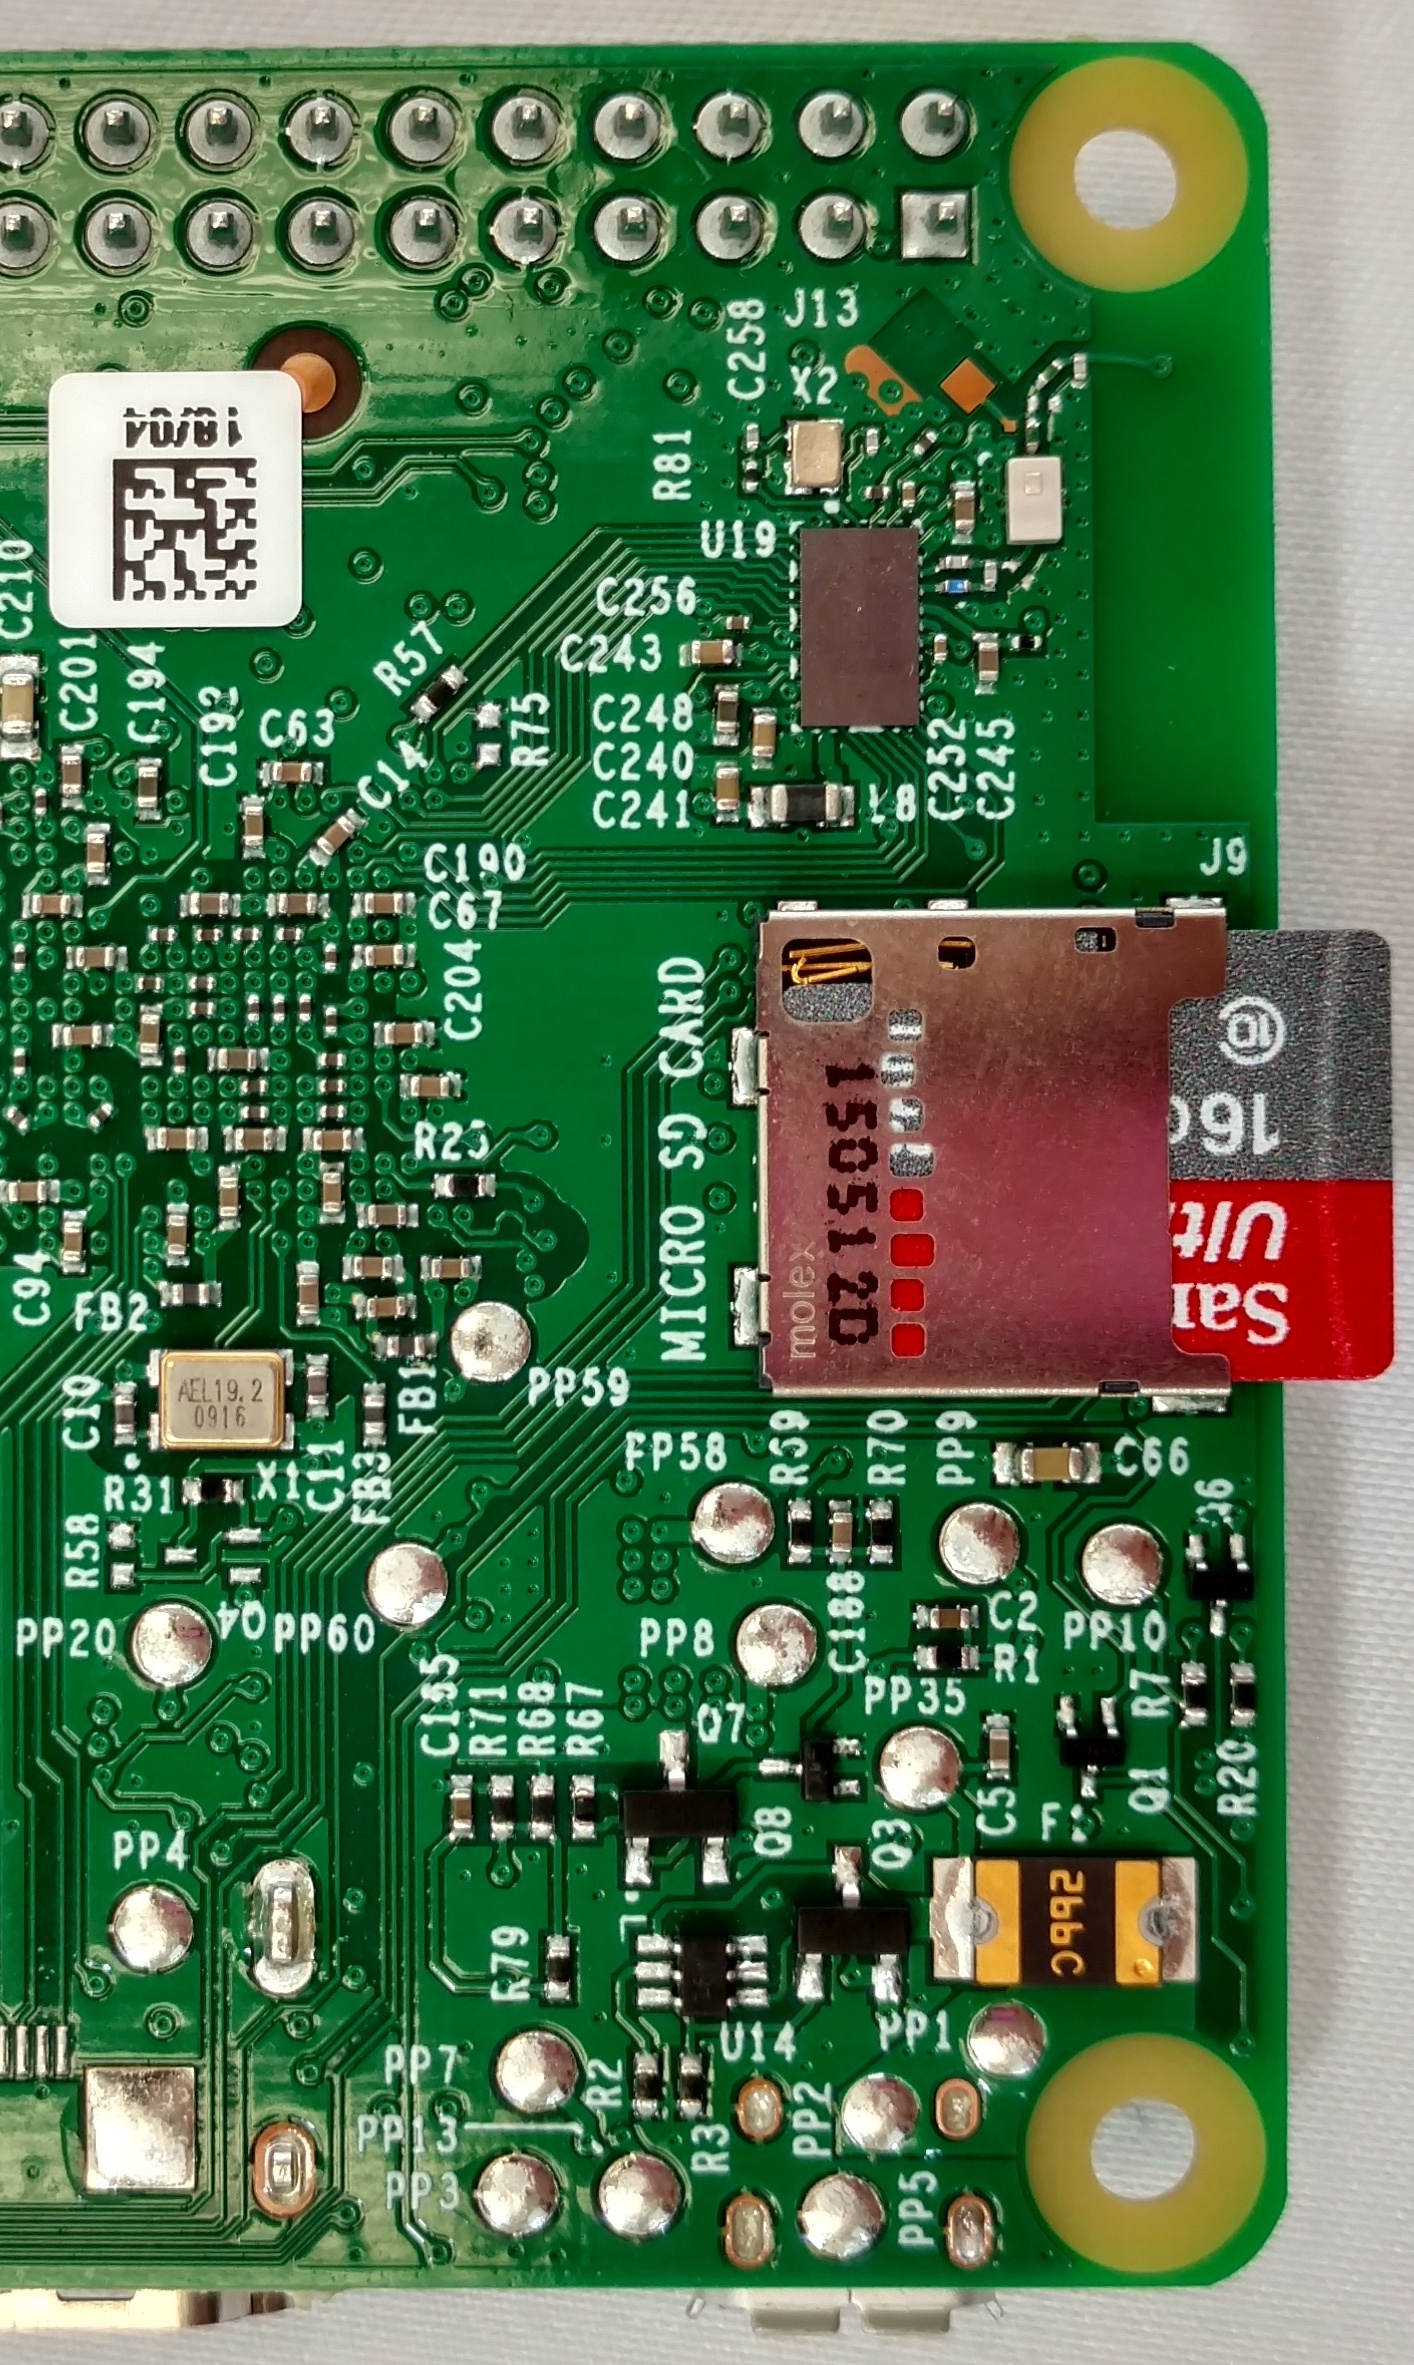
If on board Wi-Fi or a USB adapter will be used to connect to the internet you will need to edit the configuration file. Etcher will automatically eject the Micro SD card after formatting, physically remove the Micro SD card or USB adapter and plug it back into the computer to edit the configuration file.

The configuration file allows the user to configure and set the following

  • Wired network
  • Wireless (WiFi) network
    • PiAware supports unencrypted networks or WPA/WPA2 encrypted networks; WEP is not supported
  • Automatic or manual updates*
  • Multilateration (MLAT) output*
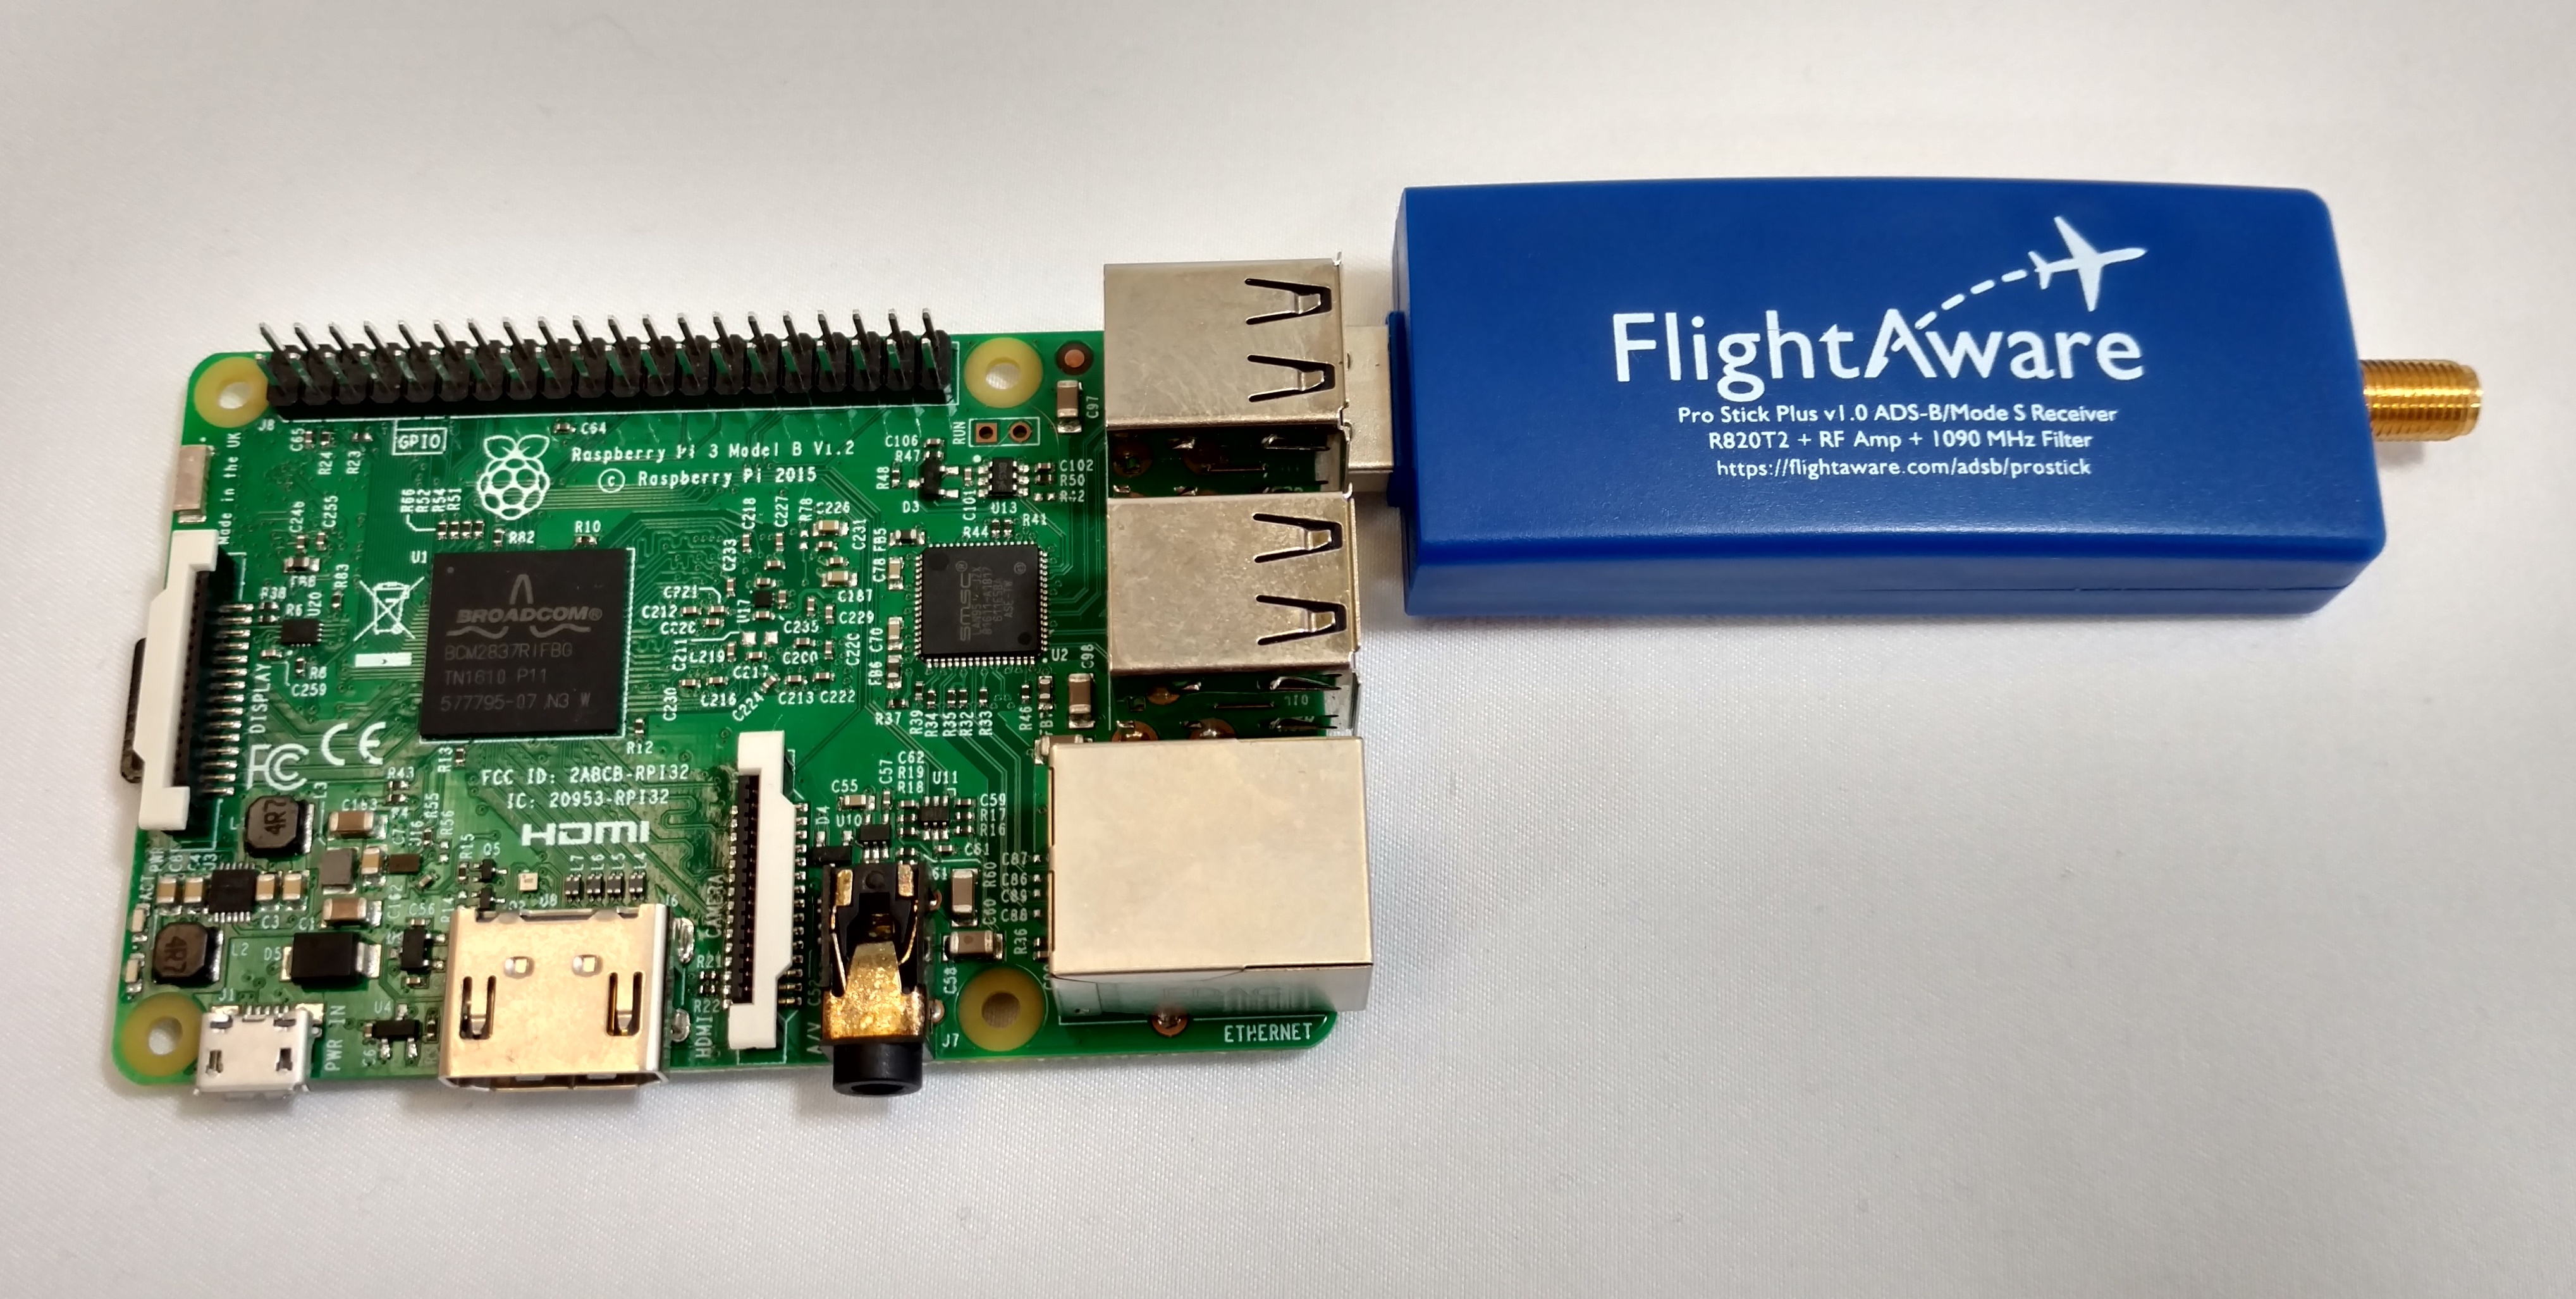
  • Receiver type (RTL-SDR, Beast, Radarcape or other Mode S/ADS-B source)
  • RTL-SDR gain, PPM and device index
  • * indicates a setting that can be configured on the site's statistics page. For full configuration options see advanced configuration
Configuration File Format

The configuration file is a simple plain text format file. The TextEdit program on a MAC OS is known for saving in the rich text format and smart quotes so be sure those options are disabled in the program's preferences.

Lines beginning with a “#” are comment lines and are ignored. Blank lines are also ignored. All other lines specify configuration settings.

Windows
  1. Open the Explorer program
  2. Select the Micro SD card device labeled piaware
  3. Open the file labeled piaware-config.txt
  4. The file will open in Notepad
Mac OS X
  1. Open the Finder program
  2. Select the Micro SD card device labeled piaware
  3. Open the file labeled piaware-config.txt
  4. The file will open in TextEdit

Below is the text file opened, instructions to enable Wi-Fi are in BOLD.


#
# This file configures the Piaware sdcard image
# configuration. Whenever the system boots, this
# file is read and its contents are used to
# configure the system.
#
# Lines beginning with a '#' are comment lines
# and are ignored. Blank lines are also ignored.
# All other lines specify configuration settings.
#

#
# WIRED NETWORK CONFIGURATION
#
# Should piaware use the wired ethernet port
# for network access?
wired-network yes

# Wired network configuration:
# Most networks will use DHCP
wired-type dhcp

# Alternatively, a static address configuration
# can be provided; set "wired-type" to static to use this.
wired-address 192.168.1.10
wired-netmask 255.255.255.0
wired-broadcast 192.168.1.255
wired-gateway 192.168.1.254
wired-nameservers 8.8.8.8 8.8.4.4

#
# WIRELESS NETWORK CONFIGURATION
#

# Should piaware use a wifi adaptor
# for network access? You will need to attach
# a supported USB wifi adaptor for this to work.

# change this to "yes" to enable wifi
wireless-network yes

# Wifi SSID and password.
# This should be changed to match your wireless
# network SSID and, for networks that require
# a passphrase, the passphrase.
wireless-ssid MyWifiNetwork <-----replace MyWifiNetwork with the name of your WiFi (aka the SSID of your local network)
wireless-password s3cr3t <-----replace s3cr3t with the password to your WiFi

# Wifi network configuration:
# Most networks will use DHCP
wireless-type dhcp

# Alternatively, a static address configuration
# can be provided; set "wireless-type" to static to use this.
wireless-address 192.168.1.10
wireless-netmask 255.255.255.0
wireless-broadcast 192.168.1.255
wireless-gateway 192.168.1.254
wireless-nameservers 8.8.8.8 8.8.4.4

Windows
  1. Once the file has been edited save and close Notepad
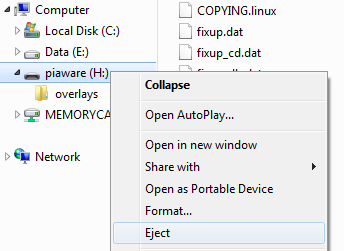
  2. Eject the Micro SD card either in My Computer by right clicking and selecting Eject or in the system tray.
  3. piaware eject Windows 7
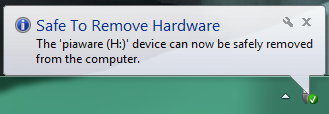
  4. A pop-up should appear stating it is OK to remove the SD card
  5. Windows SD card safe to remove
Mac OS X
  1. Once the file has been edited save and close TextEdit
  2. Eject the Micro SD card either in Finder or using the eject icon
  3. piaware eject button MAC

4Start your PiAware device

  1. Slide the SD card (with PiAware installed) into your Raspberry Pi.
  2. Micro SD card in Pi
  3. Optional: Put the case on the Raspberry Pi.
  4. Plug the USB SDR ADS-B receiver into the Raspberry Pi.
  5. RTL-SDR connected to Raspberry Pi
  6. Tightly plug in the antenna cable into the USB SDR ADS-B dongle.
  7. Antenna connected to USB SDR ADS-B receiver
  8. Plug the ethernet (internet) cable in. (If using WiFi skip this step)
  9. Plug the power into your Raspberry Pi.
  10. Raspberry Pi connected to power and an antenna
  11. You should observe a solid red LED and a blinking green LED on the Raspberry Pi as well as yellow and green LEDs next to the Ethernet jack.
  12. Raspberry Pi LEDs

5Claim your PiAware client on FlightAware.com

You should wait about four or five minutes for your PiAware to start and then you can associate your FlightAware account with your PiAware device to receive all the benefits.

Once your device is running, please:

Look up the IP address in your router admin and go to the assigned IP address in a browser on the same network. If the device hasn't been claimed a link to claim the PiAware device will display.

Or

Claim your PiAware client on FlightAware.com

If after 5 minutes your device hasn't displayed as claimed try restarting the device, if that still doesn't work re-confirm the Wi-Fi settings (if using Wi-Fi) are correct. Lastly contact us at [email protected]. Check your stats page (link below) to confirm it was claimed.

FlightAware PiAware: Claim PiAware via Status

6View your ADS-B statistics

  1. View your ADS-B stats at: https://www.flightaware.com/adsb/stats
    • FlightAware will begin processing your data immediately and displaying your statistics within 30 minutes.
    • Statistics Page
    • or click 'My ADS-B' in the header while signed in. This will only appear after the site has sent data for 30 minutes.
    • My ADS-B in the page header

  2. Configure your location and antenna height on your statistics page by clicking on the gear icon located to the right of the Site name.

    • Multilateration, also known as MLAT, functions by pinpointing the location of an aircraft by knowing the locations of sites that received messages from the aircraft.
    • Statistics page gear icon location

  3. The FlightAware stats page will also tell you the local IP of your device and provide a link for direct connection. This is where you can find a link to SkyAware, a web portal for viewing flights the receiver is picking up messages from on a map.
  4. Statistics page SkyAware link location
    FlightAware PiAware: SkyAware ADS-B software web interface

7Success!

Remember that the signals from aircraft are not designed to penetrate objects, so the antenna should be located "line of sight" to the sky with no obstructions. The most optimal installations, which are installed outdoors and on a roof, have a range of over 250mi / 400km.

Enjoy using PiAware and using FlightAware with extra features reserved exclusively for ADS-B feeders like you. Please check out the discussion forums to share your experiences or learn more.

8Optional Steps for Advanced Setup

PiAware also has instructions for many optional features such as:
  1. Antennas
  2. Expand Filesystem for large SD cards
  3. Linux password set up
  4. Access PiAware via Command Line
  5. 978 UAT Setup Instructions
    • Just a quick tip, to change from 1090 MHz from 978 UAT, simply add these two lines to the piaware-config.txt of your flashed SD card:
      • receiver-type none
      • uat-receiver-type sdr

PiAware - Raspberry Pi with ADS-B receiver

Login

Don't have an account? Register now (free) for customized features, flight alerts, and more!
Did you know that FlightAware flight tracking is supported by advertising?
You can help us keep FlightAware free by allowing ads from FlightAware.com. We work hard to keep our advertising relevant and unobtrusive to create a great experience. It's quick and easy to whitelist ads on FlightAware or please consider our premium accounts.
Dismiss